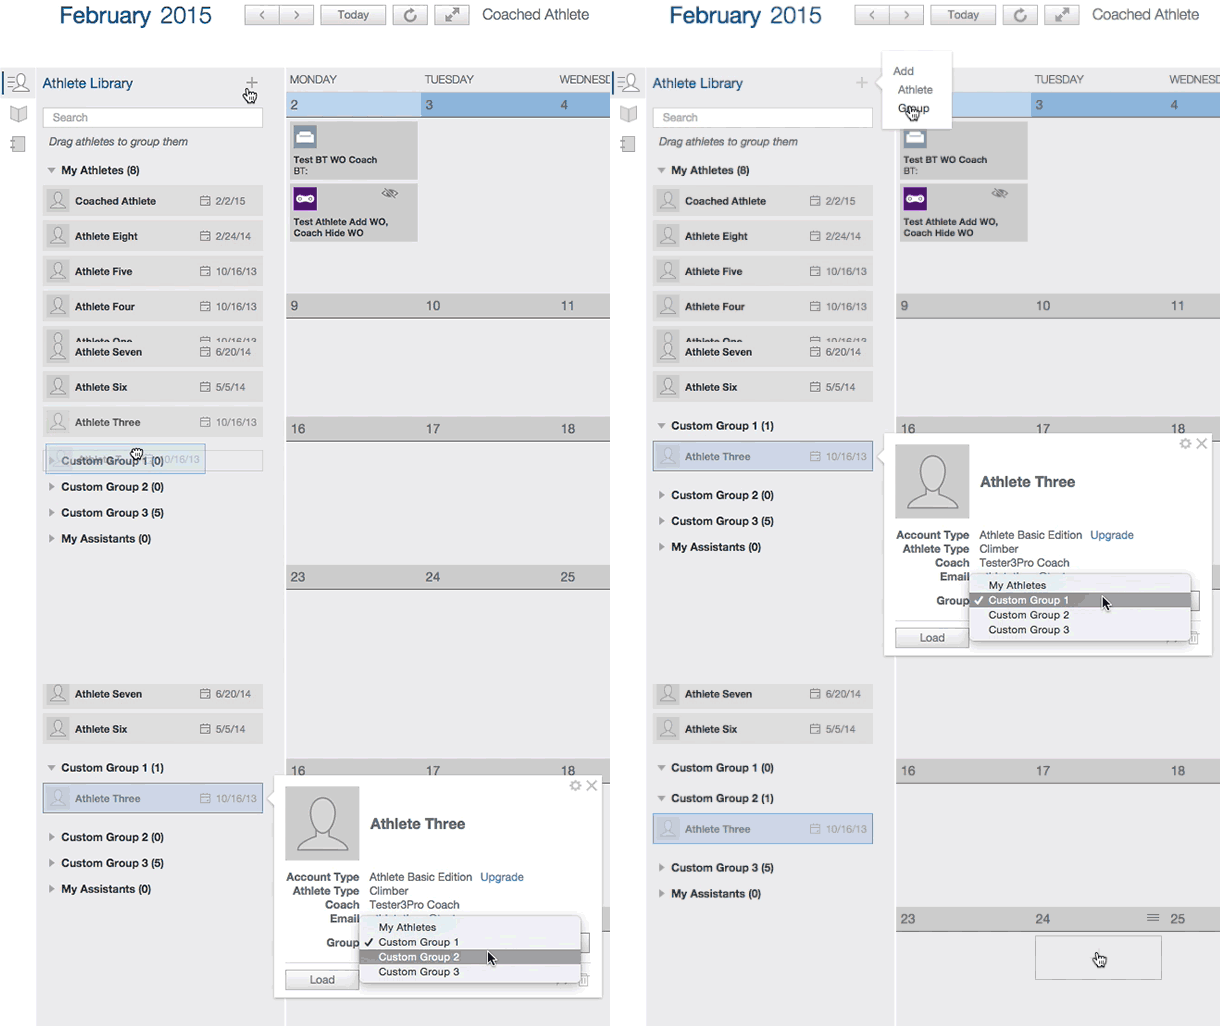
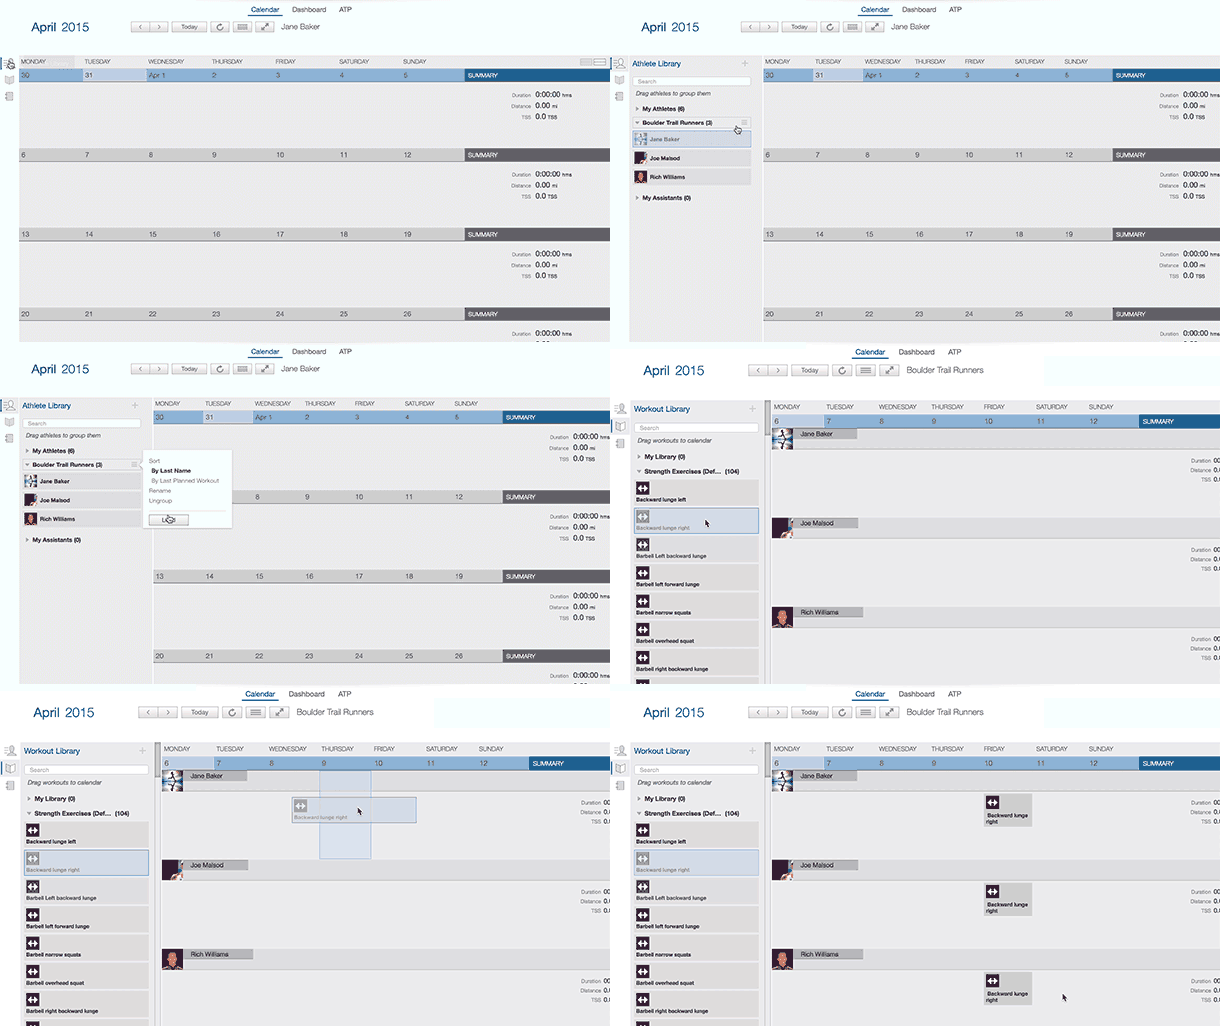
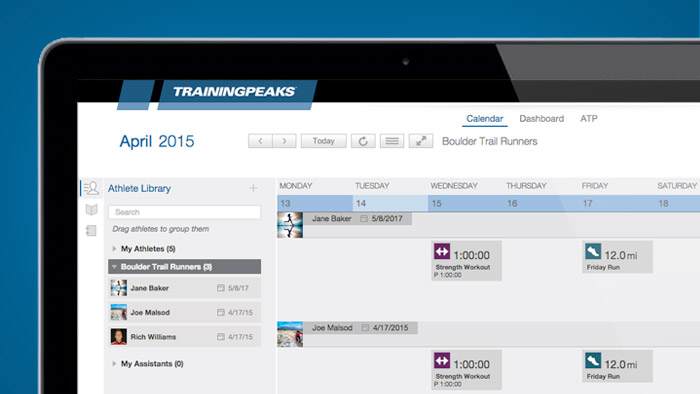
We have created several features based on groups so you can organize your athletes, view more athletes on your screen, and plan workouts for similar athletes at once. Use the steps below to create, organize, and plan in groups.
1. Create a Group of Athletes
Open your Athlete Library and click the plus sign in the upper right. Choose the Group option, name it and click Add. That group will be added to your Athlete Library. To put athletes in a group, simply drag and drop.

2. Load and View Athletes in a Group
To view the athletes in a group, click on arrow to the left of the group name. To load all the athletes in that group, click on the group name and then click on the bar icon just right of the name. This will open a menu window then click the Load button. You will then see one week of each athlete in that group. You can move weeks by clicking the arrow buttons above the calendar on the left side.
3. Add Workouts to Individuals or the Group
To add a workout, simply drag one from your Workout Library to the athlete you want. You can load a workout to all athletes in a group by dropping the workout on the date bar at the top of the calendar.


