Setting your athlete’s zones can feel like a workout. If you’ve ever taken over an athlete from another coach, started an athlete from scratch, or had an athlete make a big jump in fitness, you’ve updated an athlete’s zones. From heart rate to power to running zones, what’s the best way to find them? How do we know if they’re accurate? How do we talk about zones with our athletes? Let’s jump in!
Testing Protocols
Every coach approaches testing and managing an athlete’s fitness differently. The performance ability and experience level of the athlete will define the appropriate frequency and test type. Before we take a deep dive into the inner workings of testing – it’s important to note that testing is extremely fatiguing and mentally taxing. The paradox of testing is that it should be done as frequently as to determine physiological improvement but as infrequently as to avoid significant mental tax and burnout.
Some athletes are great testers and can achieve their best fitness numbers in a field test (non-race conditions). Others may need to be primed on race day to go “all-in.” In researching this article, I reached out to coaches all across the US to learn how they use prep sets or interim testing workouts to assess an athlete’s fitness without putting them into significant mental or physiological debt.
Lab Tests & Zone Tests
There is no question that a lab test is going to be 100% conclusive and give a coach plenty of information to determine zones. Lab testing will show the coach and athlete every corner of their fitness, not just pace, heart rate, and power threshold improvements. You gain insight into metabolic rates of oxidation, oxygen uptake and blood lactate levels. These tests are often completed at a performance lab or at a local university’s sports performance center. Lab testing is quite costly, ranging from $99 to $300 per sport. Given the price, it’s important that you know your athlete will benefit from the knowledge gained in a lab test. If your athlete doesn’t have a long history of performance data or still needs to get comfortable with completing a fitness test, it’s best to utilize a field test to determine zones.
Prep Sets & Zone Tests
Coaches and athletes take comfort in knowing that the work they’re doing will yield results. If it’s cost-prohibitive to test athletes in a lab on a monthly basis, we can do smaller prep sets and interim testing workouts to determine how an athlete is improving. I reached out to three US-based coaches to find out which workouts they use to gauge fitness progress. I also inquired about the optimal frequency. Across all workouts, it’s imperative that if you’re gauging progress, you assure the athletes rest adequately in the days leading up to testing.
Which Zone Calculator Is Right?
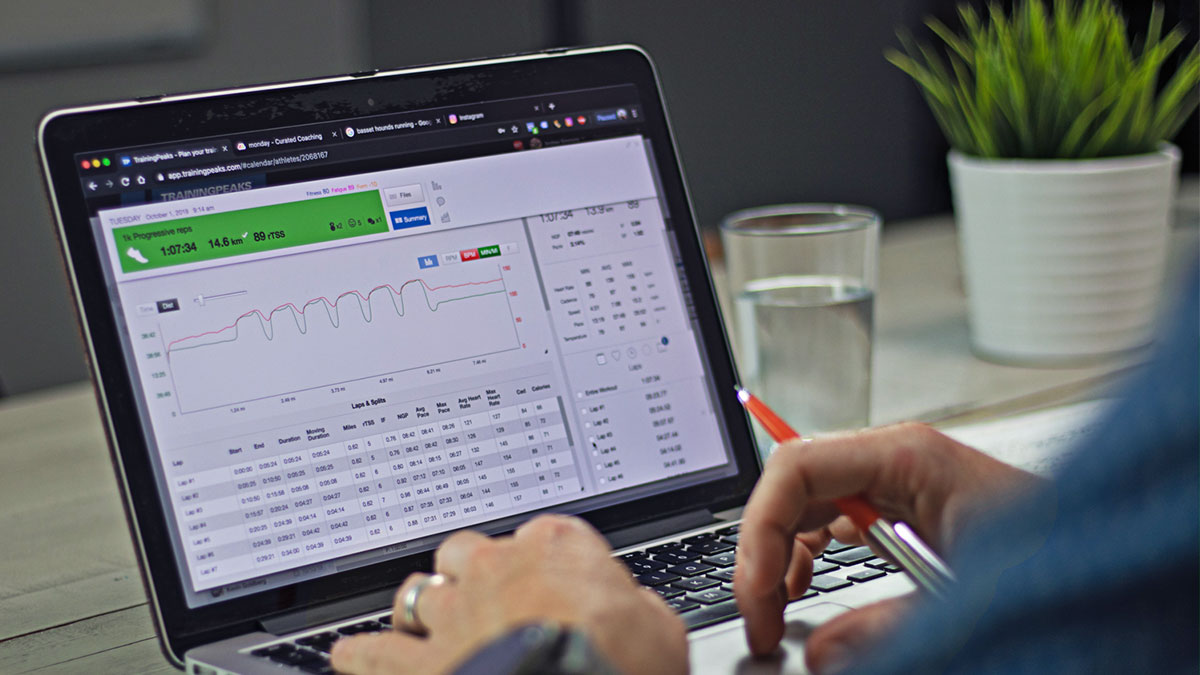
TrainingPeaks allows manual input and calculations for athlete’s zones. The calculations offered for each sport are backed by supporting research and results. When it comes to choosing which to use with your athletes, it’s worth diving into the background research to see which methodology fits your philosophy. You may find that it’s easier to coach your athlete by customizing the names of the zones or adjusting the ranges.
Changing the name to match the zones you reference in your workout to aerobic, anaerobic, recovery vs. Zone 2, Zone 5, and Zone 1 may help you get more traction with new athletes who are learning terminology. As a reminder, make sure that when you change zones you notify your athlete of these changes; devices do not change zones when the coach changes them in TrainingPeaks. If your athlete is finding a mismatch, they have not updated their device to reflect the new zones in TrainingPeaks. Remember to look into your athletes’ zones during the off-season — TrainingPeaks is set up to remind you of increases in Threshold but does not indicate a regression; to ensure you’ve got an accurate picture of the athlete, make sure you’re reviewing their IF and HR regularly as part of your feedback assessment.
Fitness Is More Than a Number
Simply put – fitness and zones are measured on a specific day and time. How your athletes feel day to day, life stress, perception of a workout, and environmental factors all play into performance. An FTP Test or 5km time trial is a great marker for fitness but is rarely a good race day predictor of performance; so much more goes into a good race.
In speaking with Taylor Thomas of Thomas Endurance Coaching, “we must look at the physical limiters of both the athlete and the demands of their goal race” – a great 5k threshold test does not indicate readiness to perform at a 100km mountain race; it indicates that the athlete has achieved a new level of threshold ability. Ensuring that an athlete is fit is a very important part of the picture, and it’s on us as coaches to ensure that we don’t place too much value on a single variable or test result. In the event a number doesn’t improve – does that mean an athlete has stagnated or just improved in another area? Using different prep sets or assessment workouts, you can avoid burning out athletes with exhaustive testing and give them a way to look at the big picture of training.
Swim Tests To Try
Swim TT – 3x 100s
From Level 2 Coach Nadja Tapkas at Gotta Tri It from the book Swim Workouts for Triathletes by Gale Bernhardt and Nick Hansen (VeloPress):
Warm Up: 200 Easy Freestyle (FS), 8x 25 build FS on 40s, 100 E FS
Main Set: 3x 100 on 20 seconds rest
Cooldown: 200 E FS
Goal of Workout: The goal is to swim at the highest possible sustained speed, achieving the lowest average time. Try to keep each time as close to the other as possible with no more than a 5-second difference between each one.
Swim TT – 3 x 300
(Also from Nadja.)
Warm Up: 200 E FS, 8x 25 build on 40s, 100 E FS
Main Set: 3 x 300 (30″) (use the lap button on your Garmin)
Cooldown: 100 E FS
Goal of Workout: The goal is to swim at the highest average speed possible, and all three 300’s should be within 15 seconds of each other. In other words, don’t swim a really fast first 300 followed by a second 300 that is slower by 20 seconds or more. Record time for each 300 (press the lap button on your Garmin before and after swimming each 300).
Broken 1k
(Also from Nadja.)
Warm Up: 200 Easy Freestyle, 8x 25 build Freestyle on 40 seconds rest, 100 Easy Freestyle
Main Set: All Freestyle
400 Freestyle (30″ Rest)
300 Freestyle (20″ Rest)
200 Freestyle (10″ Rest)
100 Best Effort
Cooldown: Easy swimming for another 200-300 yds/m
Goal of Workout: Use the total time of the main set minus 1:00 to estimate your 1K swim time. The idea is to see that improvement over time.
Run Tests To Try
Standard Protocol Run Test
From Level 2 Coach Andrew Simmons
5K, 8K, 10K Baseline Test / Time Trial
Warm Up: 1-2 miles
Main Set: 5K, 8K, 10K Race or Best Effort
Cooldown: 1-2 miles easy
Goal of Workout: This is standard protocol across all running coaches. To learn more about testing, check out this article (Dynamic approach to testing and training). Longer protocols are best for determining fitness for Half Marathon to Marathon Fitness. Longer tests determine an athlete’s effort, and pacing, and can use increasing decoupling to determine when they begin running inefficiently. Take note to use these sparingly, as time trials and racing are very fatiguing.
5x 1K Fitness Test
(Also from Andrew.)
Warm Up: 1-2 miles
Main Set: 5x 1km on 400m jog rest
Cooldown: 1-2 miles easy
Goal of Workout: This workout is best done seven days out from a 5K fitness test or time trial. This will help the athlete hone in on the target pace and ultimately show you where their fitness is without putting them under the pressure of a race scenario. Take the average of five reps and multiply by five to get the target time/pace.
Yasso 800’s
From Bart Yasso, Former Runner’s World Race Services Manager
Warm Up: 2 miles
Main Set: 8x 800m on 2:00 Rest
Cooldown: 2 miles easy
Goal of Workout: A classic workout. This predictor is based on the average time for eight 800-meter intervals where you move the minute’s place to hours. If the athlete runs the 800-meter intervals in 2:55 average they are likely capable of running a 2-hour and 55-minute marathon.
Cycling Tests To Try
There are a lot of ways to achieve peak performance on the bike, and the gold standard for assessment has been the Functional Threshold Power (FTP). An athlete’s FTP is a measure of the best average power output an athlete could sustain for one hour in a time-trial scenario. To conduct an FTP test, the athlete needs a power meter or power-based trainer.
There are a number of ways to test FTP and ultimately determine your athlete’s power profile. Depending on the event(s) your athlete is racing – defining a more robust power profile may be more beneficial than a traditional critical power test like a CP20 or CP60. Critical power tests are extremely intense, so use these sparingly throughout the season. Most critical power tests are shorter than 60 minutes and, as such will require a multiplier to achieve a 60-minute FTP number. Once an FTP test has been completed, it’s great to determine current capacity and fitness against a known segment without having to dig for 20 to 60 minutes. Having athletes use Strava segments or known routes that replicate real-world training scenarios often produce clearer results than what an FTP test can tell you. An athlete capable of managing against environmental and race-specific scenarios can out-race competitors with larger FTPs any day.
Critical Power 60 (CP 60) or 40km Time Trial (TT)
Warm Up: 30-45 minute progressive warm-up
Main Set: 60 Minute Time Trial/ 40km Time Trial
Cooldown: 15-20:00 progressive cool down
Critical Power 20 (.95 x Multiplier)
Warm Up: 20-30 Minute progressive warm-up
Main Set: 20-Minute Best Effort (multiply results by .95 to get a 60-minute equivalent / FTP)
Cooldown:15-20:00 progressive cool down.
Segment Hunting
From Level 2 Coach Brian McCulloch with Big Wheel Coaching
Warm-Up (+/-20min.): Easy spinning with 2x 1min. “openers”, ramp-up the pace for 30sec. then ride flat-out for the last 30sec., 2-5min. easy spinning after each effort.
Main Set: Make 2 attempts on your favorite segment; the first is a “sight lap” to practice your pacing at a moderate effort. The second attempt is a flat-out/full-gas effort. Use a quick cadence, 85+rpm and empty the tank! Recover completely after the effort with easy spinning. This is a maximum effort, so don’t hold back!
Cooldown: 15-20min. Easy spinning with a quick cadence, 85rpm+
