The biomechanics contained within the hip/glute complex are complicated and can be a sticking point in the physiology of many runners. If neglected, the hip/glute complex will limit an athlete’s range of motion as well as their overall comfort while running.
In order to avoid the most common hip-generated running injuries such as IT-Band Syndrome, Piriformis Dysfunction, and Psoas Tightness/Impingement, there are a handful of specific movements that can help tremendously. These movements are a great way to increase your athletes’ explosiveness and mobility.
Note that these movements require more than just strength—they also require the athlete to have great body awareness and control, hand-eye-foot coordination and rhythm. Dr. Jesse Riley from Modern Movement and Andrew Simmons from Lifelong Endurance will walk you through nine movements and progressions to make your athletes feel stronger and more confident as runners.
The Marching Warm Up
Every strength routine should start with a sport-specific warm-up. This three-step marching warm-up starts by lighting up your neuromuscular system. While it may not seem important to take the steps between movements, your body is listening. Teaching your body how to repeatedly put on the brakes and hold a specific stance or position requires a great amount of control. You can integrate this as a primer to a dynamic warm-up.
Execute 2-3 rounds or until you feel adequately warmed up:
- 3 Step Knee to Chest
- 3 Step Quad Pull
- 3 Step Figure 4
- 3 Step Open the Gate
Loaded Movement/Front Rack March
As Dr. Riley shares in the video above, front rack marching loads the front side of the body, challenges you to use your core and teaches you to control posterior pelvic tilt. Athletes should start slow and challenge themselves to control their movement through the full range of motion.
Curtsy Lunge + Variations
Execute 3 rounds of 10 on each leg.
This lateral/curtsy lunge progression will challenge your athletes’ dynamic stability. This movement helps build strength for situations like technical running descents on loose trails. Have your athletes start with minimal to no weight and master the movement – this one can really challenge the glutes. Athletes should be conscious of keeping shoulders parallel to a wall and letting the hips do the rotation and movement. Each rep should take roughly a three-count to ensure they’re going the correct speed. Control is the name of the game here! Start first with lateral toe taps and progress to the curtsy lunge.
Weighted Step-Up + Variations
Execute 3 rounds of 8 on each leg.
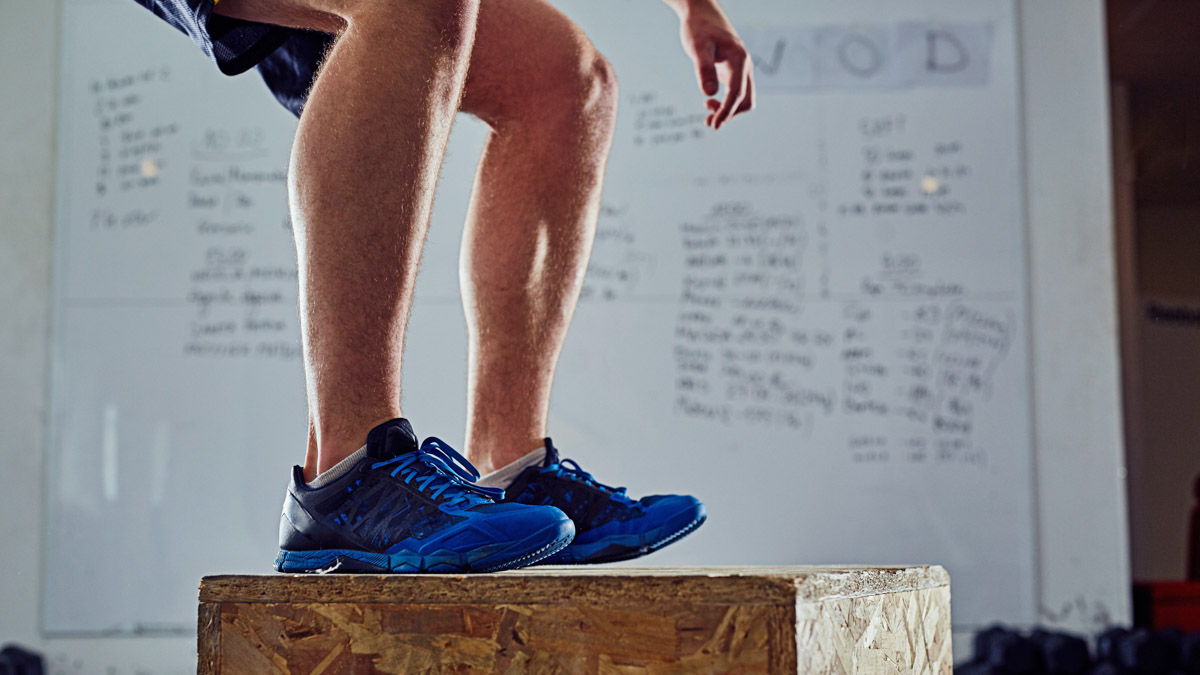
The Weighted Step-Up is one of our absolute favorite movements for runners that is overlooked and often done incorrectly. This is truly the perfect movement to teach oppositional neuromuscular control—it’s all about developing patterns. Once your athletes have mastered a perfect running posture in this movement, they can start to load it up. This is where the movement really takes off in variations – athletes can keep it form-focused by freeing up their hands and wearing a weighted vest. I personally prefer to wear a weight vest as it allows me to still practice my form but with an added challenge for my hamstrings and hip flexors.
Alternatively, the challenges of holding weight are where things get even more interesting. A farmer’s carry, kettlebell in goblet position, front rack, or an overhead plate can make this movement more than just about stepping up onto a box. As a coach, I like to have my athletes hold the pose or “take a picture” at the top of the movement with the knee drive up (as shown) because it helps reinforce perfect posture.
Split Jack
Execute 3 rounds of 10 on each leg.
The split jack is a dynamic movement that requires an immense amount of coordination between your arms and legs while integrating the eccentric phase of running which can be tough to train safely. This movement requires athletes to cock their arms back and drive forward and upward while coordinating a “switch” in their forward/lead leg. This movement demands that athletes push both up and switch legs quickly and then land in a stable stance. This is an excellent movement to teach runners the power they possess in their arms.
You can increase the difficulty of this movement by adding a weighted vest (this allows athletes to use their arms while still loading their legs up.) The added weight will challenge athletes in the transverse plane which makes this such a great movement for road and trail runners alike.
Pogo + Variations
Execute 3 rounds for time or 8-10 reps on each side for singles.
The pogo may seem unassuming for those with excellent balance but will challenge new runners and athletes who struggle with single-leg balance. The two-legged pogo is a great way to teach runners how to fire both legs and increase leg stiffness. Learning how to land in the two-legged version may seem simple but focus on changing the variables to make this movement more challenging before adding weight.
Have athletes try to jump high while absorbing the movement with an eccentrically controlled squat. Alternatively, a push-press or quarter squat is a great way to fire calves and ankles to work the lower legs. You can once again add a weight vest; be conscious that your athletes’ landing mechanics are perfect with two legs before you really increase the weight. The eccentric/absorption phase equates to body weight + added weight + gravity which means we’re putting a lot of force down into those legs, feet, and ankles! This is a great way to teach “under hips” landing mechanics for runners as they get more confident with their form.
Lateral Lunge + Shuffle
Execute 3 rounds for time or 10 reps on each side.
Lateral work allows us to progress into moving into the frontal plane. It demands a lot from runners who rarely move in this direction. Let this be a caution, have runners start “soft” before they try to make this movement about speed, velocity, or quickness. If their ankles, knees, and hips are not used to being loaded in this way, ease into the intensity. Unloaded, this movement demands their brain to coordinate legs and swinging arms.
When you begin loading this movement, a weight vest is your best friend so the athlete can continue using their arms. The coordination of their feet can take a few different directions—from a “two-touch” on the box or a “float switch” which demands more coordination and more force from the leg pushing off. Both foot stances are shown in the video. Think of this movement like a lateral version of fast feet.
Copenhagen Plank
Execute 3 rounds for timed holds, or 5 reps on each side.
This movement will challenge even your strongest of athletes. It is very demanding of the inner thighs, core, balance and overall strength. Take a chance to watch the variation/progression of this movement in the video because it can feel impossible if the athlete tries to start in a wrist-posted plank with both feet “pinching” the bench.
There is no real benefit gained from loading this movement up and is best used as a static hold once your athletes build the ability to hold the position without wobbling. Dynamic Copenhagen planks are a “thing” and require impeccable core and motor control and are the most challenging version of this movement. I recommend athletes start easy and build up the time of their holds with each leg. They should strive to even out weaknesses before going for the dynamic version.
Fast Feet
Execute 3 rounds for time/cadence or 10-15 reps on each leg.
Trail running, track racing, and fast road running demand quick turnover to propel athletes across the track or uphill and downhill over rocks. Coordination is the name of the game with this movement, building a good rhythm with your feet teaches your brain how to move quickly and confidently. This movement is great to do barefoot or in minimalist shoes so athletes can feel where they are pushing off and landing.
Use this movement with coordinated arms to practice form and balance in a staggered stance or load it up with a weighted vest to move this from a quickness and coordination exercise to a strength/power movement. You can use a metronome to establish cadence (180-200) or teach athletes to find a rhythm naturally on the track or trail.
Glute Bridge
Execute 3 rounds of 10 for time (static hold) or complete 10 reps with a band.
We know you’ve probably seen these before and it’s for good reason – they work! Reinforcing great hip extension and activating the glutes are great ways to isolate and activate the posterior chain. When you add a band to the mix, isolated resistance for the glutes and hamstrings will build endurance, especially while holding at the top position with the hip in extension. Take note from Dr. Riley and have your athlete screw in their big toe to get the most out of this movement.
You can take this movement to new levels of difficulty by adding weight in the lap with both feet on the ground for a modified hip thruster. Athletes could also take one leg out of the equation and focus on stabilization and mobility. This is a great movement that your athletes will be sure to feel the next day.
